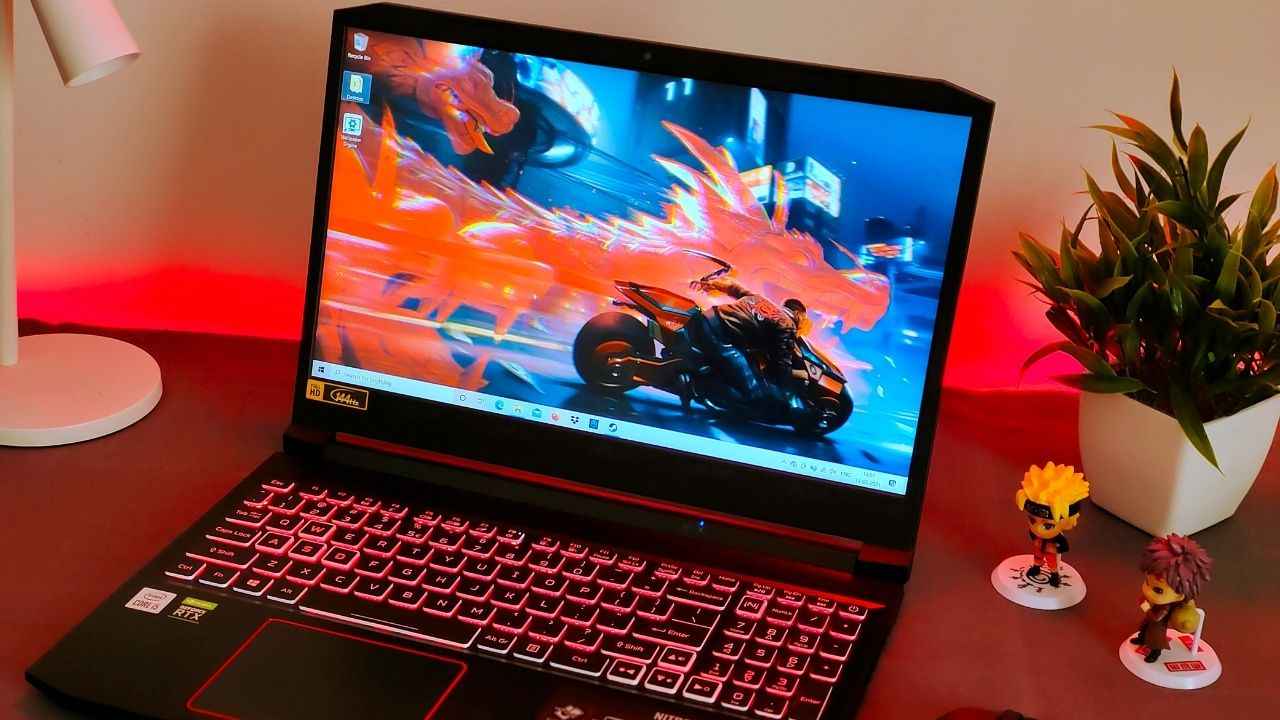
For serious gamers, a smooth and responsive display is crucial. That’s where screen refresh rate comes in. Measured in Hertz (Hz), refresh rate refers to how often your laptop screen redraws the image per second. A higher refresh rate translates to smoother visuals, especially in fast-paced games where every millisecond counts.
Many modern gaming laptops boast high refresh rate displays, ranging from 120Hz to a blazing-fast 360Hz. But if you’re unsure how to utilize this feature or haven’t explored its potential, this guide is for you. We’ll break down refresh rates, explain how to change them on your gaming laptop, and explore the pros and cons of different settings.
Understanding Refresh Rates: Why They Matter

Imagine watching a movie on your phone. A standard movie plays at 24 frames per second (fps). If your phone’s screen refreshes the image 24 times per second, you get a smooth viewing experience. However, if the refresh rate is lower, the image might flicker due to slower updates.
The same principle applies to your laptop screen. A 60Hz refresh rate refreshes the image 60 times per second. This is fine for everyday tasks or watching videos. But in fast-paced games, a 60Hz screen might struggle, leading to:
- Screen tearing: The image appears torn apart due to the screen refreshing in the middle of an image update.
- Motion blur: When objects move quickly, they appear blurry, making it difficult to track them.
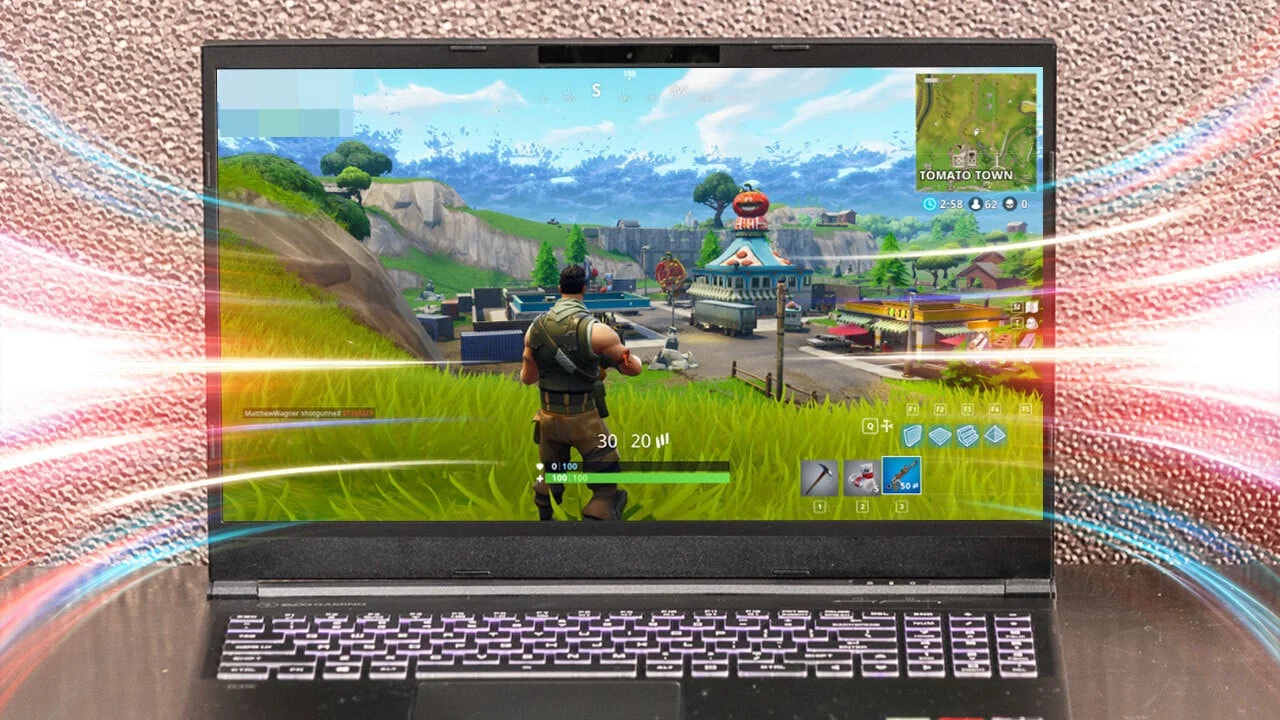
Higher refresh rates (120Hz, 144Hz, or even 360Hz) significantly reduce these issues. With a faster refresh rate, the screen updates more frequently, creating smoother visuals and minimizing screen tearing and motion blur. This translates to a more responsive and immersive gaming experience, allowing you to react faster and potentially improve your performance.
How to Change the Screen Refresh Rate on Your Gaming Laptop (Windows & macOS)

The process can vary slightly depending on your model and operating system. Here’s a general guide:
Windows:
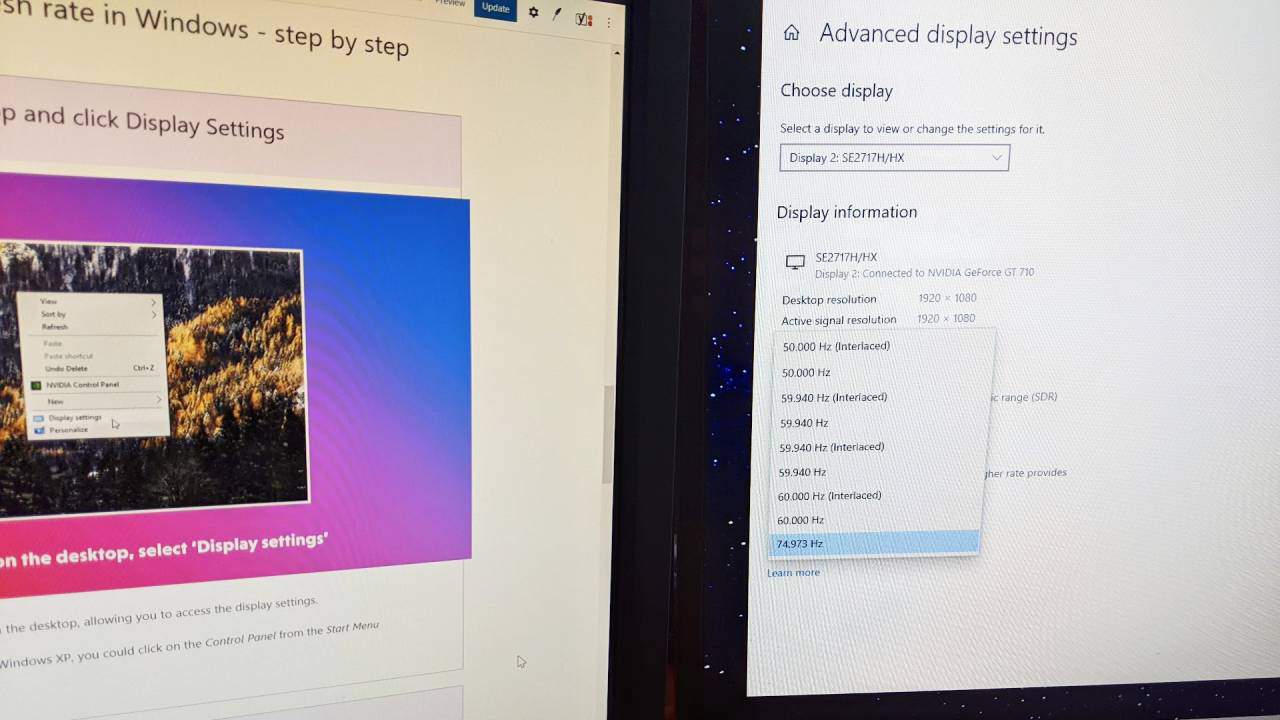
- Right-click on your desktop and select Display settings.
- Scroll down and tap Advanced display settings.
- Under Choose a refresh rate, select your desired option.
- Tap Apply. Confirm the change if prompted.
macOS:
- Click the Apple logo, then tap System Preferences.
- Go to Displays.
- Tap the Display tab. Check the information about your connected display, including its native resolution.
- If your display supports VRR (G-Sync or FreeSync), you might see an Options button next to the refresh rate. This might reveal additional options.
- Unfortunately, macOS might not always show all supported refresh rates. Consult your laptop’s manual or manufacturer’s website if unsure.
Additional Tips:
- Restart your computer after changing the refresh rate for the changes to take full effect.
- If you don’t see the desired option, your display might not support it. Check your laptop’s specifications or manual.
- Some games might have settings within the game itself to adjust the refresh rate. Experiment with both in-game and laptop settings for the smoothest experience.
Choosing the Right Refresh Rate: A Balancing Act

While a higher refresh rate improves visual smoothness, consider these factors:
- Performance: Running games at a higher refresh rate requires more processing power from your graphics card (GPU). If your GPU is powerful, you can likely take advantage of a higher refresh rate without sacrificing performance. However, a lower refresh rate might be preferable with a weaker GPU to maintain smooth gameplay.
- Content: Not all content benefits equally. Desktop tasks and even many everyday games might not show a significant difference between 60Hz and 120Hz. However, fast-paced games like shooters or racing games will see a noticeable improvement with a higher refresh rate.
By understanding refresh rates and how to adjust them on your gaming laptop, you can optimize your display for a smoother and more responsive gaming experience.
Please share your thoughts in the comments. At theproductrecap.com, we are open to friendly suggestions and helpful inputs to keep awareness at peak


