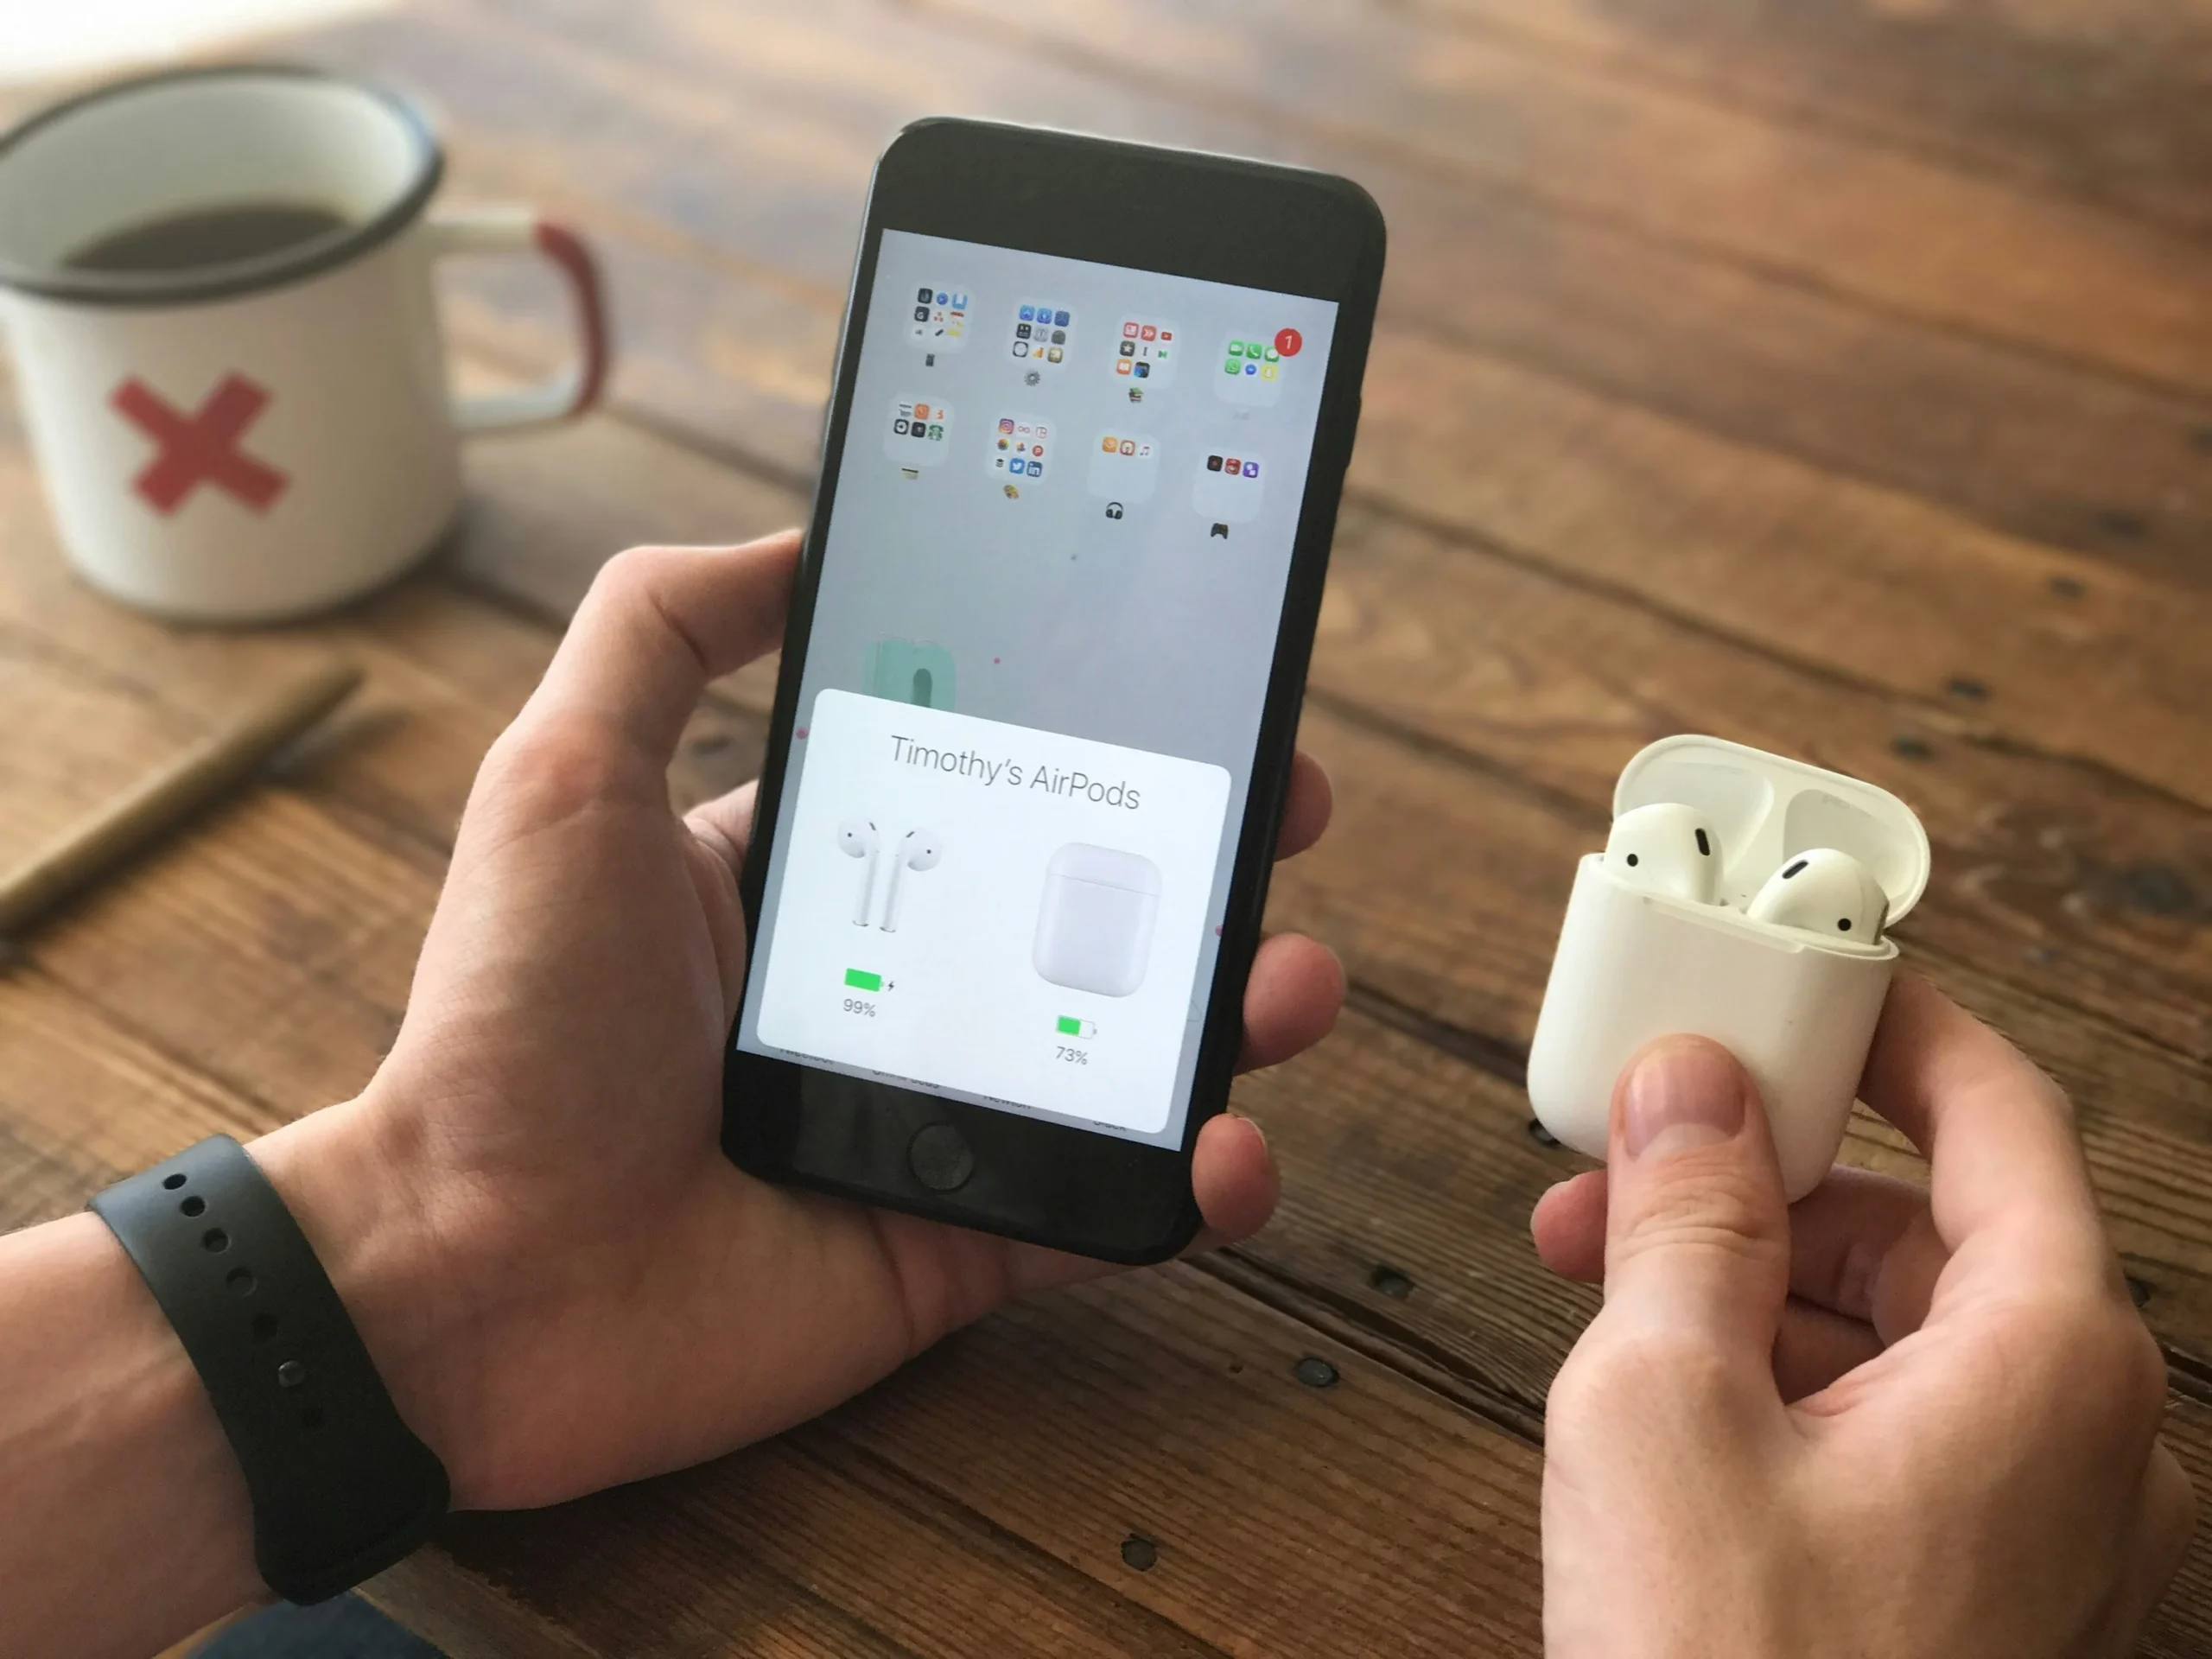
AirDrop is a fantastic feature on iPhones that allows you to wirelessly share photos, videos, documents, and more with other Apple devices nearby. It’s a quick and convenient way to transfer files without needing an internet connection or any additional cables.
This blog will delve into everything you need to know about using AirDrop on your iPhone, with a special focus on the exciting one-tap sharing feature introduced in iOS 17.
What is AirDrop and Why Use It?
AirDrop utilizes Bluetooth to establish a connection between devices and then leverages Wi-Fi to transfer files quickly and securely. Here are some key benefits of using AirDrop:
- Simplicity: No need for complicated setup or additional software.
- Speed: Transfers happen much faster than emailing or using cloud storage services.
- Offline Functionality: No internet connection is required.
- Security: Encrypted transfers ensure your data stays private.
- Convenience: Ideal for sharing files with friends and family who are also using Apple devices nearby.
Before You Start: AirDrop Essentials
There are a few things to check before attempting an AirDrop transfer:
-
Compatibility: AirDrop works between iPhones, iPads, and Macs running compatible versions of iOS, iPadOS, or macOS.
-
Bluetooth and Wi-Fi: Both devices need to have Bluetooth and Wi-Fi turned on for AirDrop to function.
-
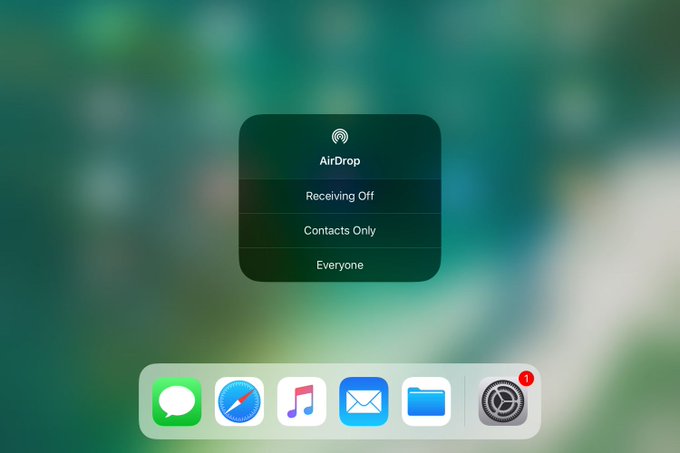
Visibility Settings: Each device needs to have its AirDrop visibility set to allow receiving files. There are three options:
- Receiving Off: This setting prevents any AirDrop requests from being received.
- Contacts Only: Only people in your contact list can initiate AirDrop transfers.
- Everyone: Anyone with an Apple device nearby can see your device and send you files. (Important Note: Due to security concerns, it’s recommended to choose “Everyone” only temporarily when sharing and then switch it back to a more restrictive setting.)
AirDrop 101: Sharing Files the Traditional Way on iPhone

AirDrop might have a shiny new one-tap sharing feature in iOS 17, but the classic method is still a great way to get things done. Here’s a step-by-step guide:
1. Find the File You Want to Share:
Open the app that contains the file you want to send via AirDrop. This could be the Photos app for pictures and videos, the Files app for documents, Safari for a webpage, or any other app that allows sharing.
2. Locate the Share Button:
Look for the “Share” button within the app. It’s typically represented by a square icon with an upward arrow. The exact location might differ depending on the app you’re using.
3. Open the Sharing Menu:
Tap the “Share” button. This will trigger a pop-up menu displaying various sharing options, like sending the file through Messages, copying it, or saving it to another location.
4. Spot the AirDrop Icon:
Among the sharing options, find the AirDrop icon. It resembles a series of circles radiating outwards, with a triangle pointing downwards in the center.
5. Choose Your Recipient:
Upon tapping the AirDrop icon, you’ll see a list of Apple devices nearby that have AirDrop enabled. These could be iPhones, iPads, or even Macs. Look for the name or device icon of the person you want to share the file with.
6. Send the File:
Simply tap the name or icon of the recipient’s device. This will initiate the AirDrop transfer.
(Optional Step 7: Recipient Accepts Transfer)
On the recipient’s device, a pop-up will appear displaying the incoming AirDrop request and the name of the file. They’ll have the option to “Accept” or “Decline” the transfer. If they accept, the file transfer will begin automatically.
Congratulations! You’ve successfully shared a file using AirDrop on your iPhone. Remember, for security reasons, it’s recommended to keep your AirDrop visibility set to “Contacts Only” unless you’re specifically sharing something with someone nearby who isn’t in your contacts.
One-Tap Magic: Effortless Sharing with AirDrop on iOS 17
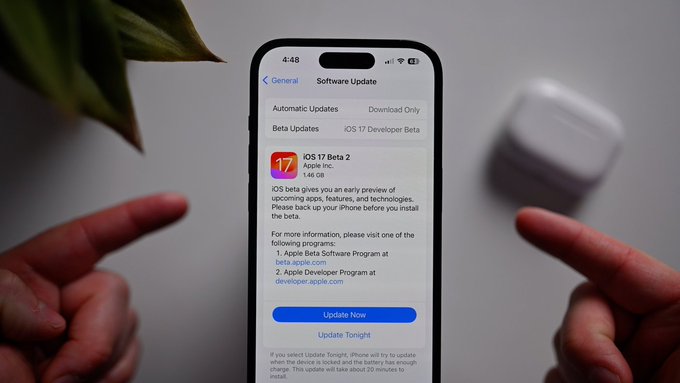
Sharing photos and videos with friends has always been convenient with AirDrop, but iOS 17 takes it to the next level with the introduction of one-tap sharing. Forget scrolling through menus – now, all it takes is a simple tap to share your favorite moments with nearby Apple devices.
Here’s how this exciting new feature works:
1. Prep Your iPhones:
- Make sure both iPhones are powered on and unlocked. This might seem obvious, but it’s the foundation for a smooth AirDrop experience.
- Enable AirDrop on both devices:
- Swipe down from the top-right corner to open Control Center.
- Tap and hold the network settings tile (the one with Wi-Fi and Bluetooth icons).
- Select AirDrop.
- Choose your visibility setting: Receiving Off lets you control who can send things to you, while Everyone allows anyone nearby to initiate AirDrop. (Remember, for security reasons, it’s recommended to choose “Everyone” only temporarily when sharing.)
2. The Magic Tap (Steps 1 & 2 from Traditional Method):
- Open the Photos app on the iPhone with the photos or videos you want to share.
- Tap the Share button (it looks like a square with an upward arrow).
3. Instant Recognition:
Here’s where the magic happens! With iOS 17, you’ll see the AirDrop icon for the recipient’s iPhone appear directly on your screen, along with their device name. This eliminates the need to search for their name in a list.
4. Share with a Single Tap:
- Simply tap the AirDrop icon for the recipient’s device, and the transfer will begin automatically!
That’s all it takes! No more searching for names or navigating menus. One tap does it all, making sharing photos and videos with your friends a breeze.
AirDrop Troubleshooting FAQ: Sharing Smoothly Once Again
AirDrop is a fantastic tool for sharing files between Apple devices, but sometimes things don’t go as planned. Here are some answers to frequently encountered AirDrop issues:
Q: My friend’s iPhone isn’t showing up in the AirDrop list.
- A: Double-check the basics:
- Ensure both iPhones have Bluetooth and Wi-Fi turned on (Control Center > tap and hold the network settings tile).
- Verify that AirDrop visibility is set to “Contacts Only” or “Everyone” on both devices (Control Center > tap and hold the network settings tile > AirDrop).
Q: The AirDrop transfer keeps failing.
- A: Try these steps:
- Restart both iPhones. A simple reboot can often resolve temporary glitches.
- Make sure the iPhones are close together (within a few feet) for a strong connection.
- Check if the recipient’s device is accepting transfers. On their iPhone, look for an AirDrop prompt asking them to “Accept” or “Decline” the transfer.
Q: The transfer is stuck on “Waiting…”
- A: This might indicate an issue with the recipient’s device. Ask them to:
- Restart their iPhone.
- Check their AirDrop settings and ensure they’re set to receive files.
- Accept the transfer on their iPhone if a prompt appears.
Q: I’m still having trouble with AirDrop. What can I do?
- A: If the issues persist, Apple’s official support page offers more detailed troubleshooting steps: [ Apple’s AirDrop Support Page ].
Bonus Tip: Remember, for security reasons, it’s recommended to set your AirDrop visibility back to “Contacts Only” after a sharing session, especially if you were using “Everyone” temporarily.
Please share your thoughts in comment about , at theproductrecap.com we are open to friendly suggestions and helpful inputs to keep awareness at peak.