WordPress is a powerful and user-friendly platform in the ever-changing world of website design and content publishing. WordPress’s easy interfaces and extensive functionality allow us to easily construct gorgeous websites. One of the most important aspects of creating captivating content is the addition of graphics. Images in WordPress play a crucial role in our content creation and SEO practices as well. In this article, we will learn all about images in WordPress and explore all questions.
Where can I find images in WordPress, and how do I upload them?
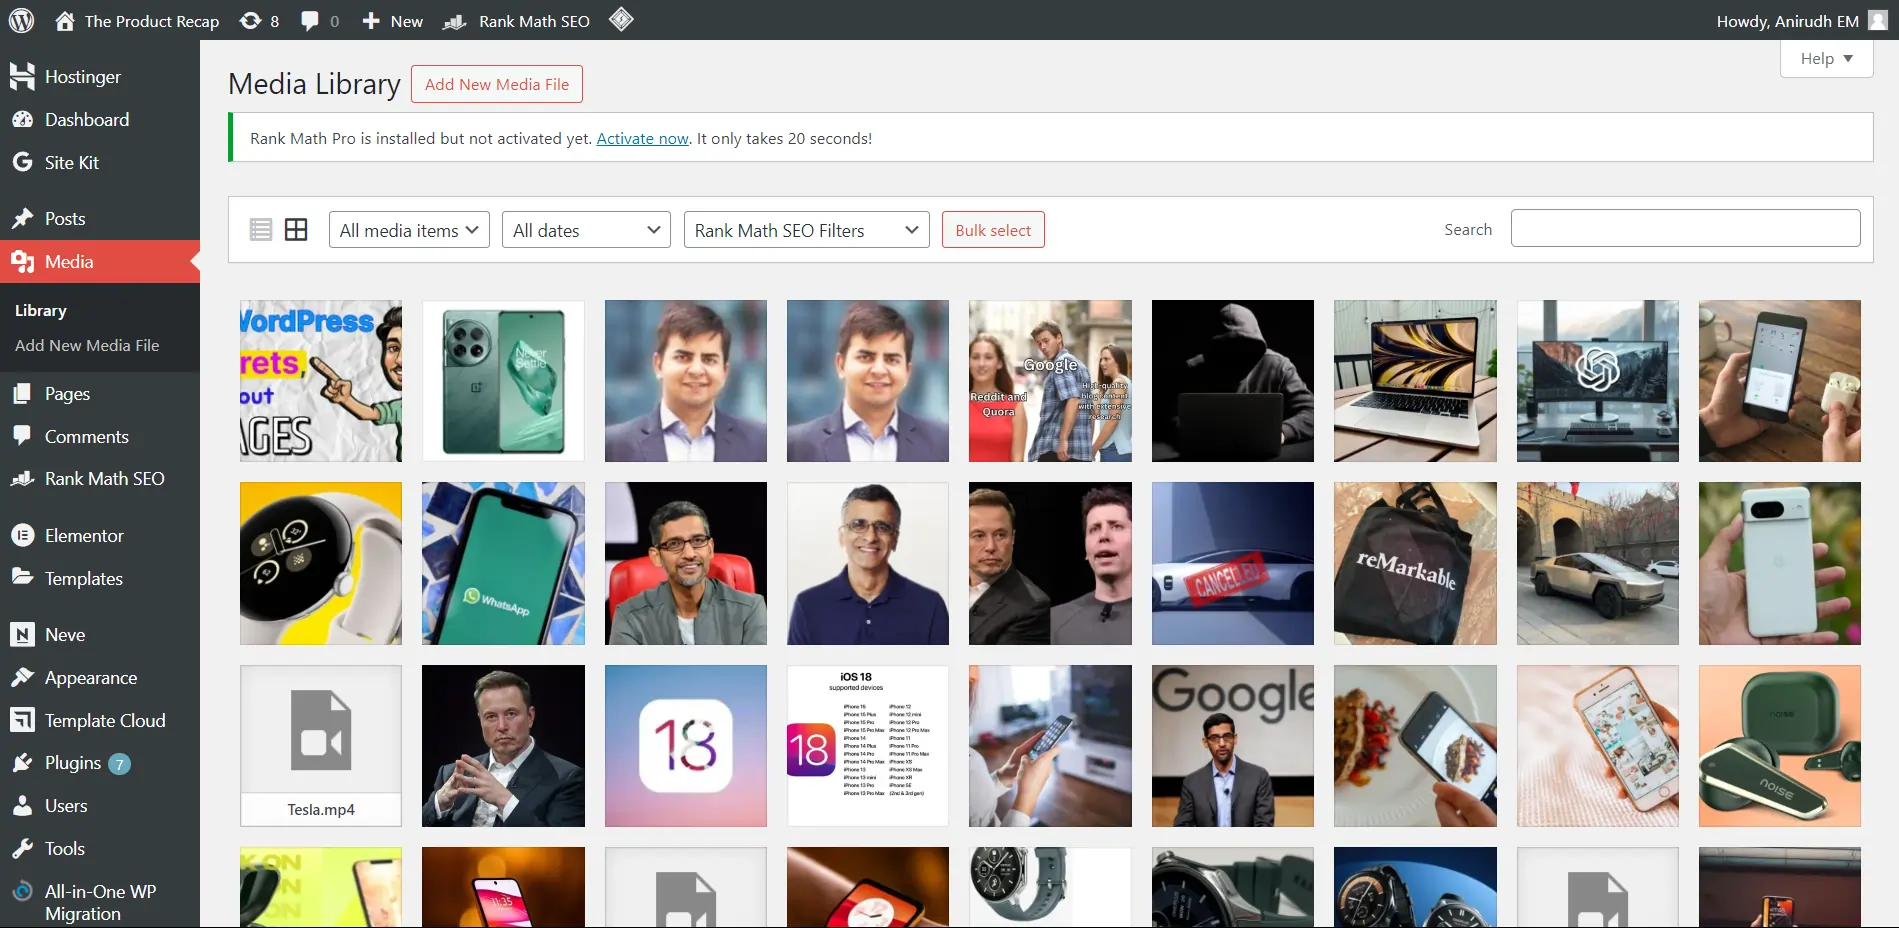
Working with media files in WordPress is really easy for developers, as WordPress provides a separate section for all types of media files under the “media” section on the left panel of the dashboard. Once you access the “Media” option, you can access all the files and filter out your results using filters. For example, you can not only separate images, videos, gifs, etc. but also filter out queries like “which images do not contain an alt tag.” or “which file is used more than once.”
In the same window, you can upload any media file globally, i.e., you can upload a file inside the “Media” section and then add that particular image inside a page using the Gutenberg editor or Elementor.
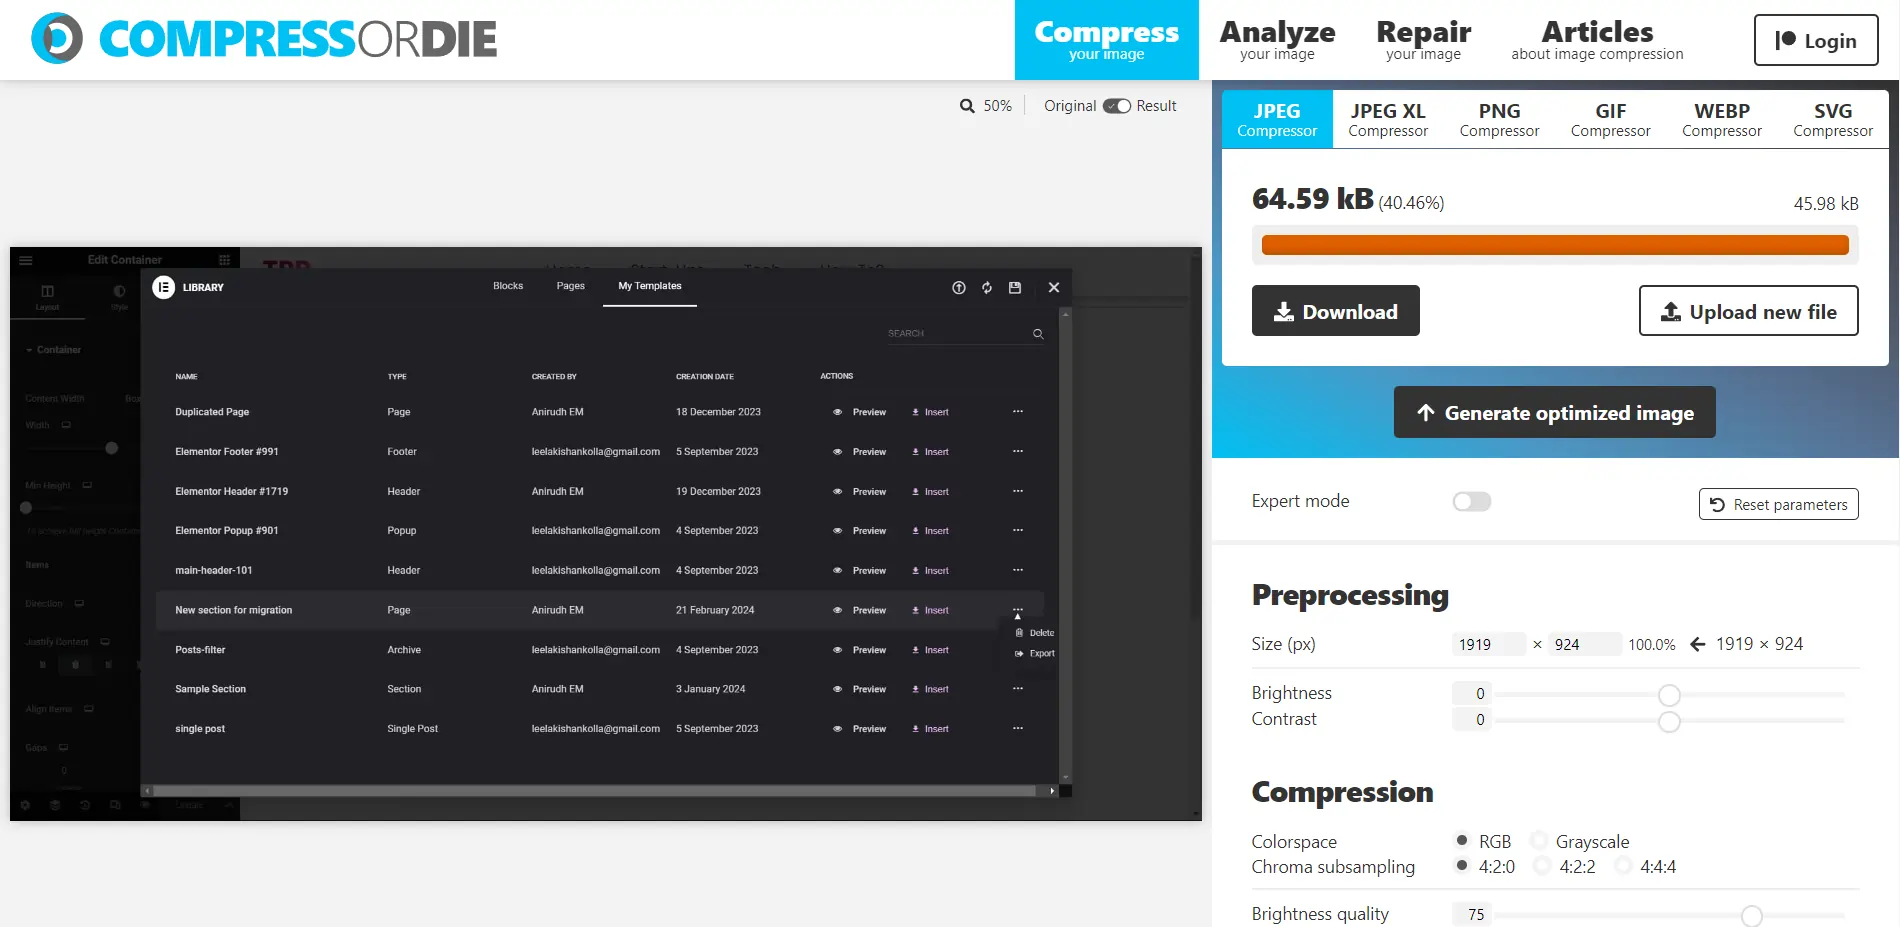
It is advisable to use a ‘.WEBP’ format for your images in WordPress. You can use Compress-or-Die to convert your images. We will discuss the advantages of using the ‘.WEBP‘ format later in this article.
Adding Images in WordPress Using Gutenberg Editor
Step 1: Log in to Your WordPress Dashboard
Navigate to your WordPress dashboard by entering your website URL followed by “…websiteURL…/wp-admin” in your browser’s address bar. Log in using your credentials.
Step 2: Create or Edit a Post/Page
Once logged in, select “Posts” or “Pages” from the left sidebar of your dashboard, depending on where you want to add your image. You can either create a new post/page or edit an existing one.
Step 3: Inserting an Image
Within the Gutenberg editor, place your cursor where you want to insert the image. Click on the (+) icon, which represents the “Add Block” button, and search for the “Image” block.
Step 4: Upload or Choose an Image
After selecting the “Image” block, you’ll have the option to upload an image from your computer or choose one from your media library. Click on the respective button and follow the prompts to upload or select your desired image.
Step 5: Adjust Image Settings
Once the image is inserted, you can adjust its settings, such as alignment, size, and caption. Simply click on the image block to reveal the toolbar, where you can access these options.
Step 6: Publish or Update Your Post/Page
After adding and configuring the image to your liking, click on the “Publish” or “Update” button to save your changes and make them visible on your website.
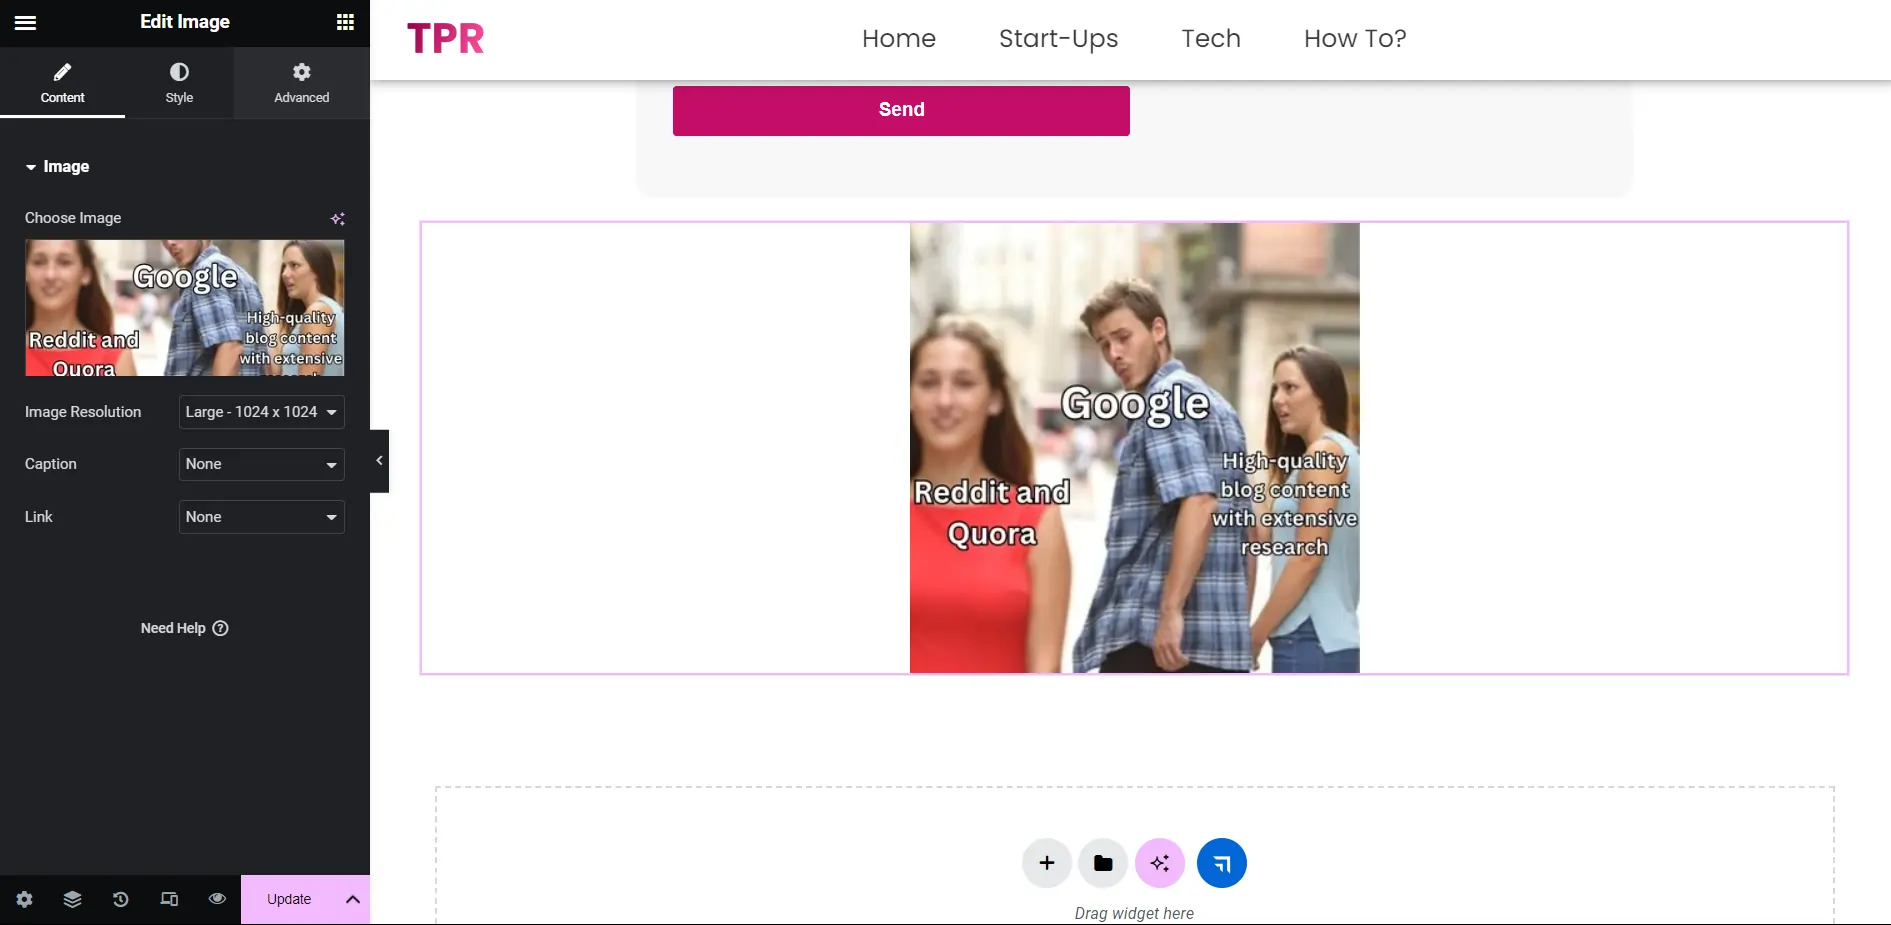
Adding Images in WordPress Using Elementor
Step 1: Access the Elementor Editor
Navigate to the page or post you want to edit. Once there, locate the “Edit with Elementor” button and click on it to enter the Elementor editor interface.
Step 2: Add an Image Widget
Within the Elementor editor, you’ll see a panel on the left containing various widgets. Look for the “Image” widget and drag it to the section where you want to add your image.
Step 3: Upload or Choose an Image
After adding the Image widget to your section, you’ll be prompted to upload or choose an image from your media library. Follow the instructions to select your desired image.
Step 4: Customize Image Settings
Elementor provides a range of customization options for your image, including size, alignment, and styling. Explore the settings panel on the left to adjust these parameters according to your preferences.
Step 5: Preview and Publish Your Changes
Once you’re satisfied with the image placement and customization, preview your page/post to ensure everything looks as intended. If you’re happy with the result, click on the “Publish” button to make your changes live.
Why do we need to optimize images in WordPress?
When we are working with images on our website, we have to make sure that they are well optimized, i.e., compressed, have the correct dimensions, and use a website-friendly format. For example, if I have a website for my company, I do not need to upload high-resolution images. But if I have a gallery art website or a website to showcase photography, I will need to upload high-resolution images with a great number of details. That is why it is required for us to optimize images according to our needs.
For general purposes, we use the ‘.WEBP’ format for images. WebP is a modern image format that provides superior lossless and lossy compression for images on the web. Using WebP, we can easily create smaller, richer images that make the website load faster.
Compress-or-die is a free source where we can edit our images and use format conversion and compression for free. You just have to upload your image to the website and select the compression or conversion that we require.
Please share your thoughts in a comment. At theproductrecap.com we are open to friendly suggestions and helpful input to keep awareness at its peak.