A multi-language website allows you to reach a wider audience by removing language barriers from your content. It boosts engagement, user experience, and even search engine optimisation (SEO) for your website. Speaking the same language as your visitors helps to build trust and inclusivity, which in turn increases traffic and conversions.
Reaching a varied audience is crucial for any website owner in the connected world of today. Serving a bilingual audience can greatly increase your reach and effect, whether you’re a blogger, company, or organisation. WordPress has a number of plugins that make building a multilingual website easier. In this post, we’ll look at how to use plugins to create a multi-language WordPress website, giving you the ability to reach audiences everywhere.
Choosing the Right Plugins for Multi-Language Website
WordPress does not provide you with the ability to create multi-language website, but there are a variety of plugins that you can use to create your website. Here are some plugins that you can use in order to create a multi-language website:
- TranslatePress is a front-end translation plugin that lets you translate your website in real time while translating it from the front-end part. It is quite configurable and supports both automatic and manual translation techniques.
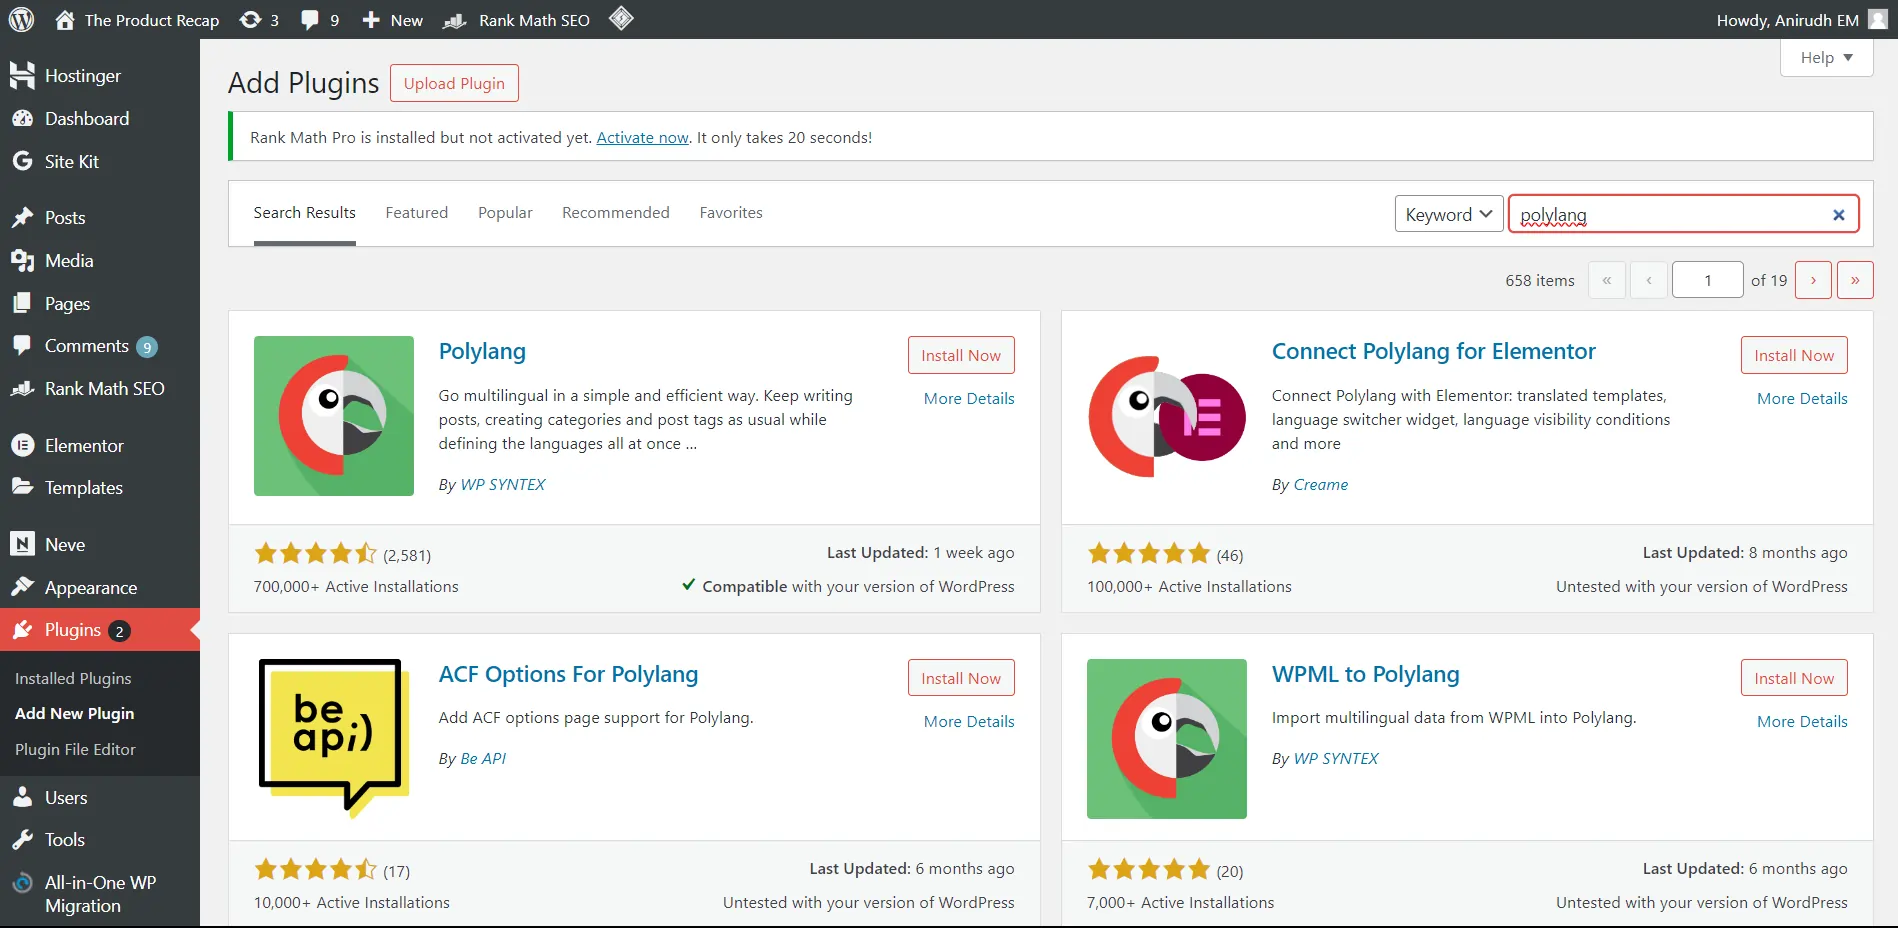
- Polylang is a simple-to-use plugin that makes it easy to develop multilingual text. It smoothly connects with well-known translation providers like Lingotek and Google Translate and enables both automated and manual translations.
- GTranslate is a common plugin that enables visitors to select a specific language of their choice among the variety of 50+ languages. A good alternative for developers because the free version also provides a wide variety of options.
Step-by-Step Guide to Creating a Multilingual Website
Once you have selected your plugin for development, the next step should be the installation and activation of our plugin. Now, we have to understand the policies and content providing guidelines for different countries. Next steps for our website should be:
- Configure the plugin settings: The language plugin you installed should have a separate section in your dashboard after it has been active. To customize the plugin settings to your liking, adhere to the on-screen directions. This could involve setting translation options, turning on language switchers, and selecting your default language.
- Add languages according to your needs: It’s now time to add the languages you want your website to support after setting up the fundamentals. The options tab of the majority of multilingual plugins makes it simple to add more languages. All you have to do is pick the languages you wish to use and save your modifications.
- Customise language switchers and menus: Customise language switchers and menus to make it simple for users to transition between multiple language versions of your website. To enable language switching, you can add widgets and shortcodes to your sidebar, header, or footer using the majority of multilingual plugins.
- Test and optimise your website: It is important that you properly test your website to make sure everything is operating as expected once you have translated your content and modified your language switchers. Verify if there are any formatting problems, broken links, or translation flaws in various language versions. To maximise the multilingual experience, keep an eye on user feedback and the functionality of your website and make any improvements.
Please share your thoughts and insights in the comments. At The Product Recap we are open to friendly suggestions and helpful input to keep awareness at its peak.